
How to Run your Own Instant Film Photo Booth
Written by Katt Janson Merilo
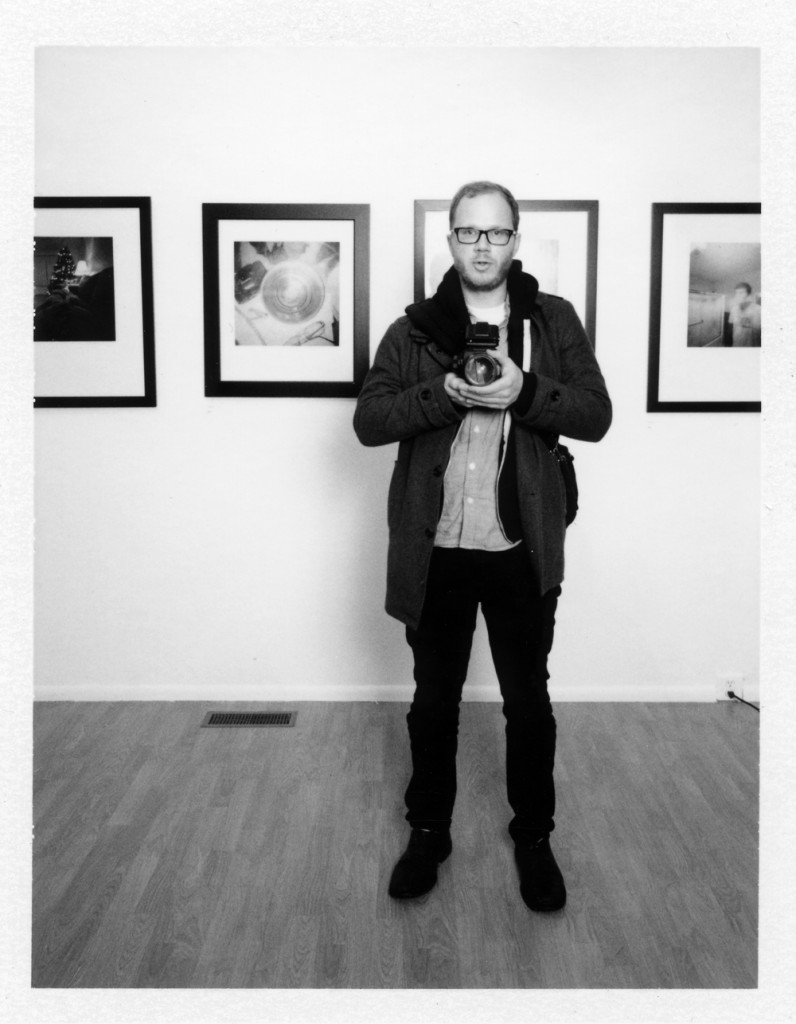
Photo boothing at Jake and Zeb’s Still Live show opening. (Photo by Jason Kelley)
Nothing makes a party like a photo booth. There’s something magical about hosting a booth that produces physical prints on the spot. Incorporating an instant pack film setup can make a lasting memory, both in your attendees’ minds and with physical prints they can keep forever. And one of the best parts? It’s super easy to set up.
To get a run-down of how to set up an instant photo-booth, I asked Codex guest star Mark Hadley to give us some thoughts on his normal booth setup. Mark started running instant film photo booths in 2005, and shows no signs of stopping. With his experience of working events both large and small, his tips and tricks of the trade are sure to get anyone curious about this process off to a good start.
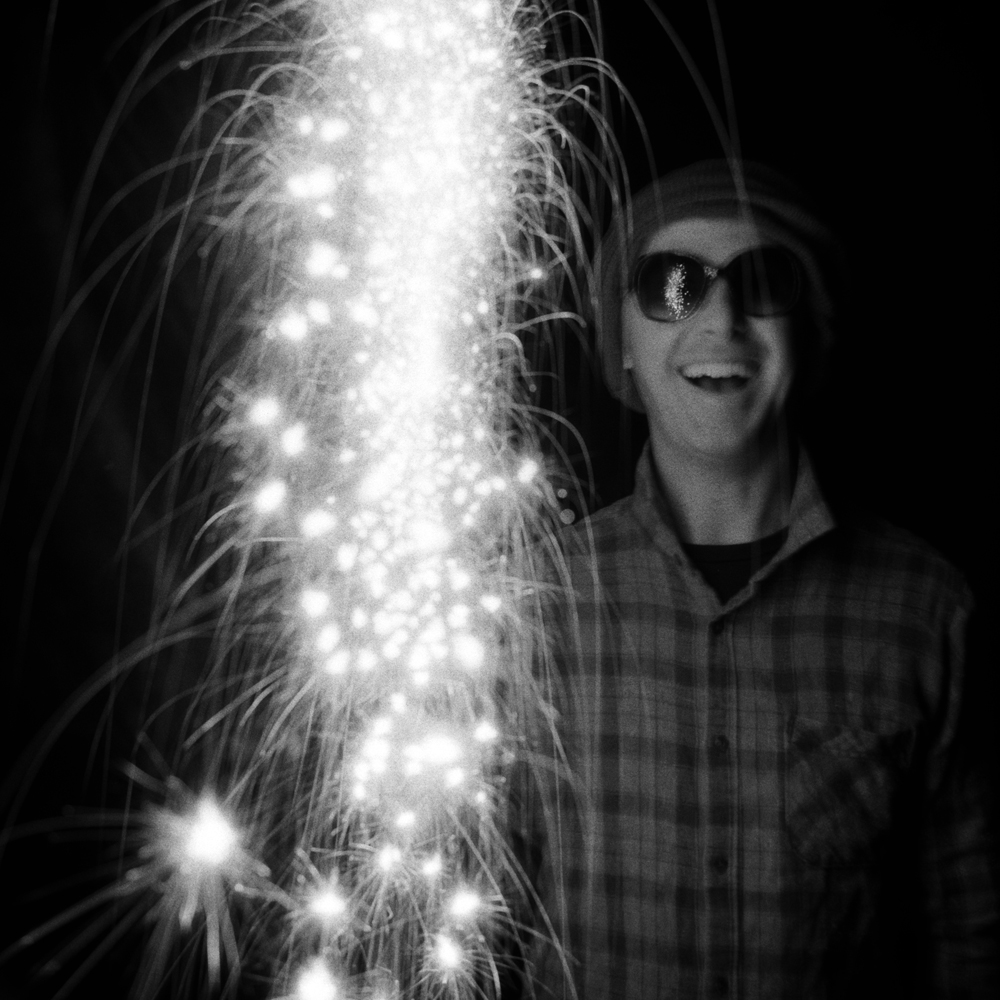
Mark ready for instant photo booth fun. (Photo by Mark Hadley)
Katt: So Mark, what is it about photo booths?
Mark: Photo booths. They’ve still got it, after all these years. An operational photo booth is not only the life of the party, it immortalizes the night one print at a time. People and partygoers are as thrilled as ever to be handed a print that was just taken of them. Nothing has changed. The flash, the intimacy, and the finality and romance of no negative–just one print on Earth–never gets old. I love it.
K: Let’s talk logistics. What’s your technical setup like?
M: Here’s what I use:
1. Polaroid 250 Camera – While nearly any Polaroid peel apart film camera will work, it’s best to use one with a functional PC flash port and a tripod socket.
2. A sturdy tripod
3. Flash
4. Flash Bracket
5. Appropriate PC flash cable
6. LOTS of Fuji peel-apart instant film. The 3000B black and white has been discontinued and won’t be available for long, but the color 100C version is still widely available.
7. Rubbing alcohol and Q-Tips for cleaning the camera’s rollers between at least every other pack of film.
8. Extra batteries for both camera and flash
9. (Optional) Reflective diffuser for ceiling of photo booth
10. (Optional) Second flash (slave) for back-lighting
First off, you don’t want to run out of film. My rule of thumb for film is to bring three times the amount of film that you think you will need. (I buy mine exclusively from the nearest Blue Moon Camera storefront.) You only waste film if you don’t expose it, and be prepared to be chained to the photo booth for the majority of the night (which is not a bad place to be). It’s comforting to bring as many back up components as you have. Flashes and flash cables tend to be the most precarious. And remember, you only waste film if you don’t expose it.
If possible, I would recommend having a full backup system. Borrow equipment from a friend if you have to.
K: That’s a lot of stuff. How does it all come together? Where do you set up?
M: An ideal space would be in a corner that’s accessible, but not in middle of everything. You’ll probably need about a 4’x6′ area to work with. One thing you’ll have to decide early on is whether you want people sitting or standing, shot vertically or horizontally. Most of the time I have people stand, and mount my camera on my tripod vertically. Have a patient friend stand or sit for you in the space before you decide on a camera position, so you can visualize and plan your general composure.
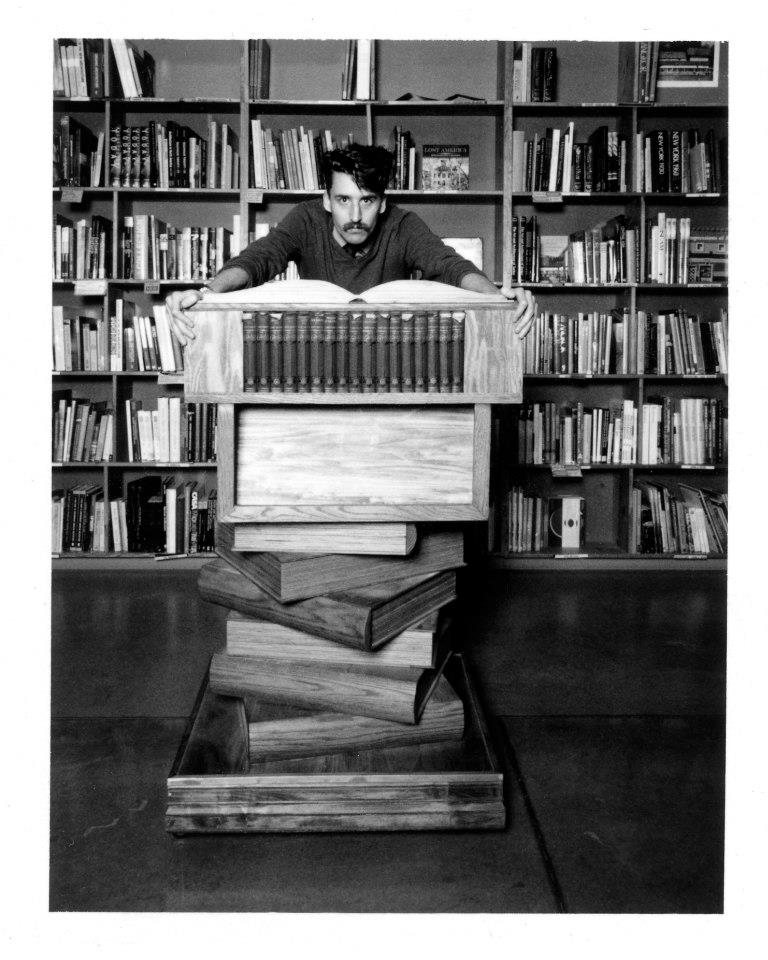
When cool backdrops are already present in your setting, use them! (Photo by Jason Kelley, at Powell’s Books 2012)
Assembling a booth takes time. If you have to hang curtains for the photo booth, give yourself at least an hour to hang them and take some test shots in order to dial in the exposure, focus and composition. Since photo booths are commonly dimly lit, it’s helpful/necessary to pre-focus the rangefinder on your test subject, and use that distance for the rest of the night. I usually tape my rangefinder focus controls still, so I don’t have worry about bumping it out of focus throughout the night. I also put a “where-to-stand” strip of tape on the floor for me, and one for the subjects in the photo booth. This will also add a pleasing level of continuity to the photos.
The advantage of a flash bracket is it mounts right on the camera; no need to fuss about a light stand or holding your flash all night. I highly recommend using a flash that does not automatically shut off. Wasting a few batteries is not the end of the world, but running out of instant film because your flash shut off and your exposure came out dark is a much bigger problem. While batteries can be poached from TV remotes, smoke detectors or baby monitors, you aren’t going to find more film on the midnight beer run at the corner store.
When I have one, I like to diffuse my flash toward the ceiling, but if I don’t have a diffuser I’ll go mug-shot style and straight on.

To prop or not to prop? That is the question. (Photo by Jason Kelley)
K: What about the fun stuff? Do you use props? What kind of backdrop or curtain situation do you prefer for the booth itself?
M: I’m not a big prop user, but they can be fun, especially if you’re working a theme event.
One way to block out a busy background is to use curtains, but finding a way to hang them in an unfamiliar area can be tricky. When appropriate, this is where a hammer, small nails, and twine can come into use.
Here’s some optional extras I find to be helpful:
1. Heavy curtains
2. Bench or stool
3. Hammer and small nails
4. Gaffer’s tape
5. Twine
6. Flashlight
K: So you’re all set up and ready to go. Someone walks up to your booth. What do you do?
M: You want your work-flow to be as smooth as possible, so you’re engaging with your subjects rather than working with your gear. This is where having an always-engaged flash comes into play. If you keep everything ready to fire, your “1, 2, 3, go!” is actually that, and not a “1, 2, 3… oh wait, hold on, don’t move!”
Once you’ve posed, prepped, and exposed your subjects, you’ll pull your film out of the back. I usually re-cock the shutter (if you’re using a camera with a shutter cocking mechanism) right after pulling the film so I’m ready for my next group. It’s a good habit to get into.
You can use a timer to let you know when to peel off your backing (it usually takes about 2 minutes for the picture to finish developing). I’ll also hand the developing print to people with an hourglass. Once the hourglass runs down they can peel the back off themselves; it adds an extra sense of magic to the whole process.
K: Sounds great, Mark! Thanks for sharing your secrets.
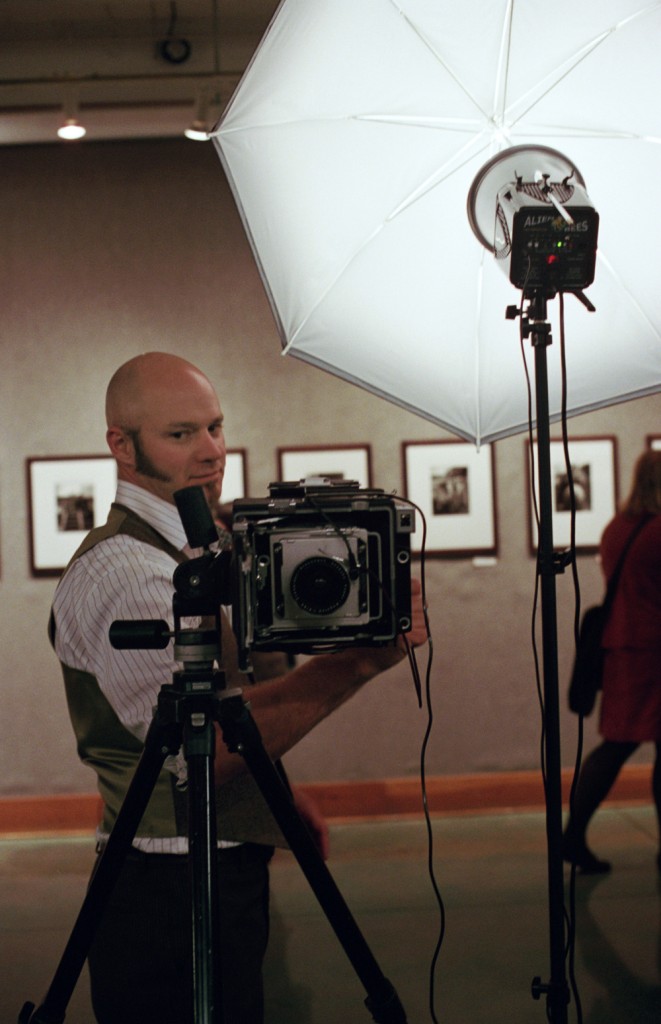
Jason Kelley runs a 4×5 Graphic powered photo booth at Powell’s (Photo by Katt Janson)
There’s more than one way to run an instant photo booth, and while this has been a tried and true way for Mark and many others, there’s certainly room for you to add your own spin on things. Jason Kelley is an instant photo booth photographer who uses a 4×5 Graphic with a pack film back in his booths rather than a Polaroid camera. Examples of his photographs are seen throughout this article, and can be seen on his website as well.
What it really comes down to is having fun. Try some of these methods out for yourself, have some fun, and send your guests home with a physical memory they can hold in their hands for years to come.